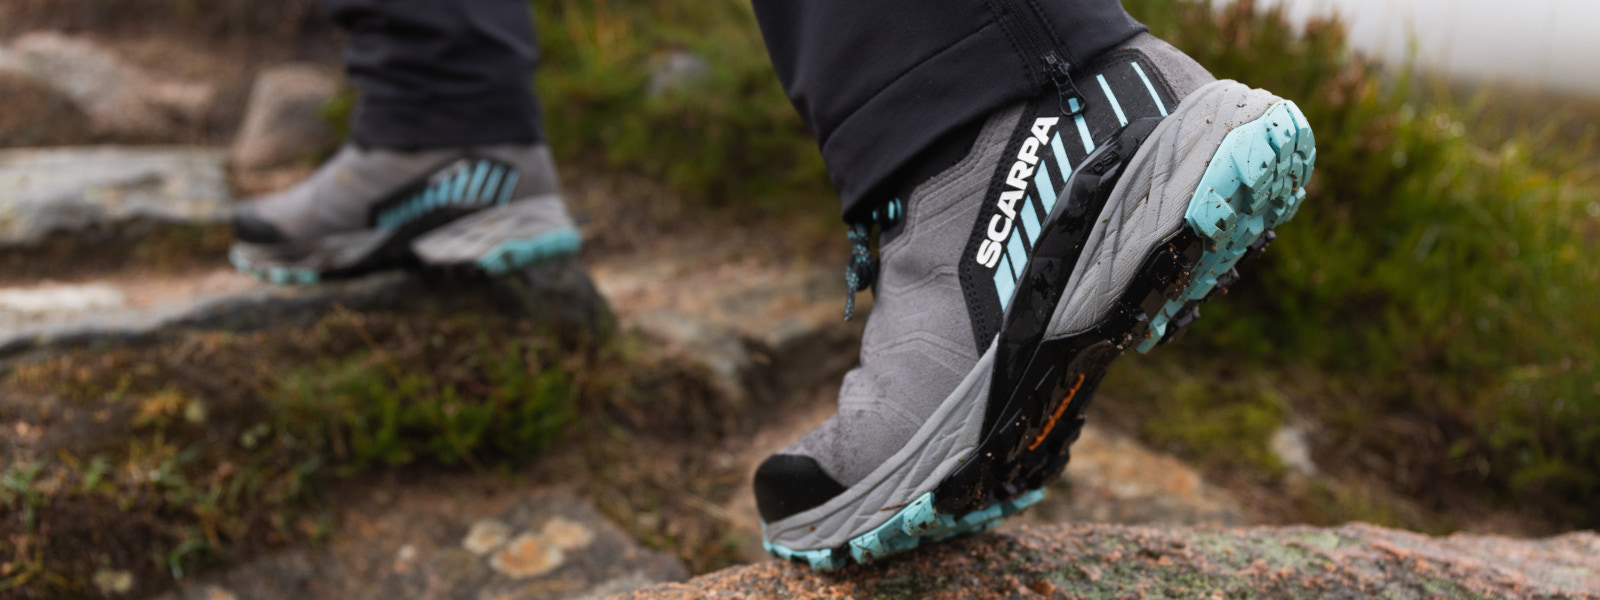
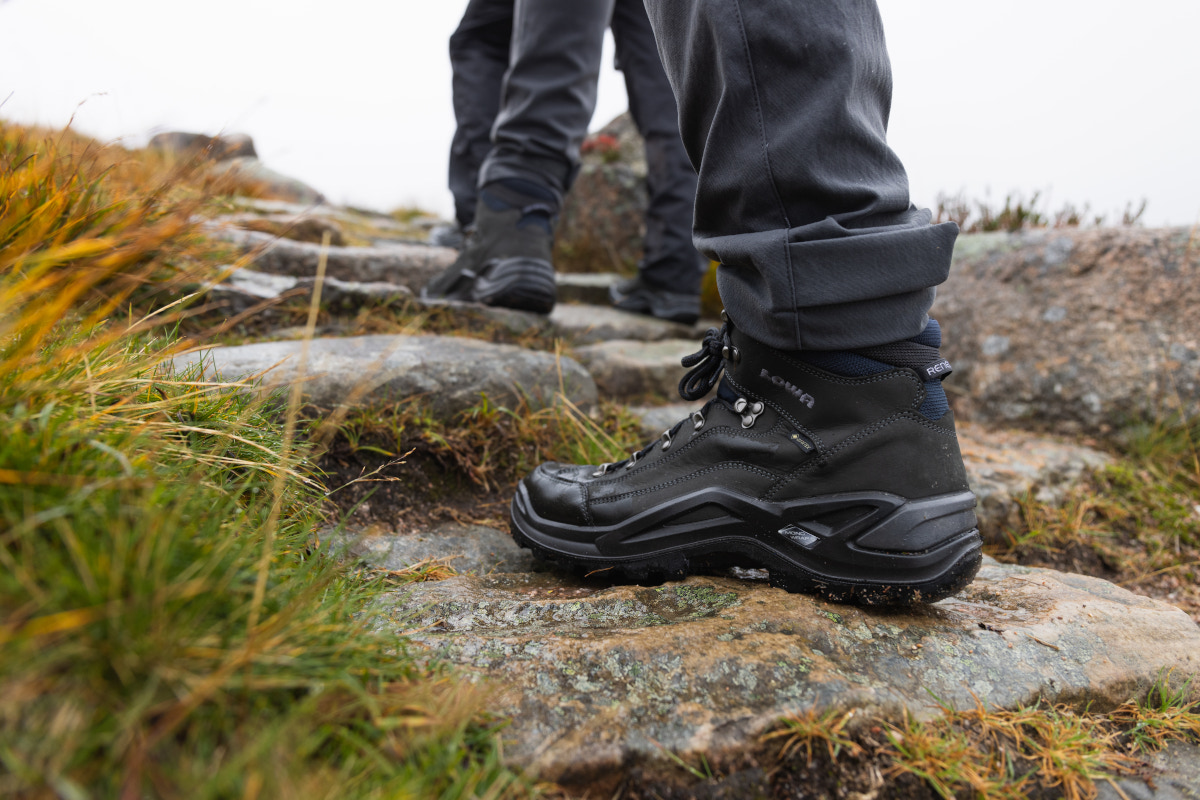
Walking Boots | Cleaning & Proofing Guide
If you’ve just invested in a new pair of walking boots or shoes, we’re sure you will want to make sure they last for as long as possible. Proper care is essential when it comes to increasing the lifespan of your footwear and will not only save you money in the long run, but is also the most sustainable thing you can do. With that in mind, we’ve tried to answer some frequently asked questions about how you can make sure your favourite walking boots will last you for years to come.
Contents:
- 1) How often should I clean my walking boots?
- 2) How often should I apply a waterproofing treatment to my boots?
- 3) What’s the best way to clean my walking boots?
- 4) Which product should I use to reproof my walking boots?
- 5) How do I deal with smelly walking boots?
- 6) How should I store my walking boots?
1) How often should I clean my walking boots?
After a day out in the hills, there’s a good chance that your boots might come back looking a little worse for wear. Whilst it might seem like a chore, we recommend that you take the time to lightly scrub off any mud and dirt after every outing.
Any mud and grime that accumulates on a boot’s upper can affect its waterproofing / breathability and a build-up of dirt between a boot’s lugs can have an impact on the grip it can offer, meaning you may be more likely you might lose your footing. Furthermore, when it comes to leather boots, the effects can be even more severe as caked on dirt will pull out moisture which can cause premature cracking.
With this in mind, dedicating a few minutes to boot maintenance will help protect your boots and prolong their lifespan. We know that if you’ve found the perfect pair, then you’ll want to make sure they last you as long as possible.
2) How often should I apply a waterproofing treatment to my boots?
How often you need to reproof your footwear will depend on both the frequency of wear and intensity of use. In an ideal world, a waterproof pair of boots would remain this way for the duration of their life without any input on your end. Unfortunately, however, the more miles you put in the more likely it is this that the ability of your boots to keep your feet dry will deteriorate.
Regular proofing can help keep any wear and tear at bay and prolong the lifespan of your boots, which will save you money in the long run. With this in mind, we recommend reproofing every few wears to make sure your boots are kept in the best possible condition.
3) What’s the best way to clean my walking boots?
Today, there are an impressive range of boots on the market that are crafted from a wide variety of different materials, including nubuck and full-grain leathers all the way through to synthetic textiles. We’ve broken down the cleaning process into 8 easy steps below to help you get the best results possible. It’s important to point out, however, that the cleaning process starts before you are even off the trail! We recommend that you try to get the worst of the muck off before heading home which is as easy as finding a stream or even a puddle to give your boots a quick splash. Believe us when we say this will make your life much easier!
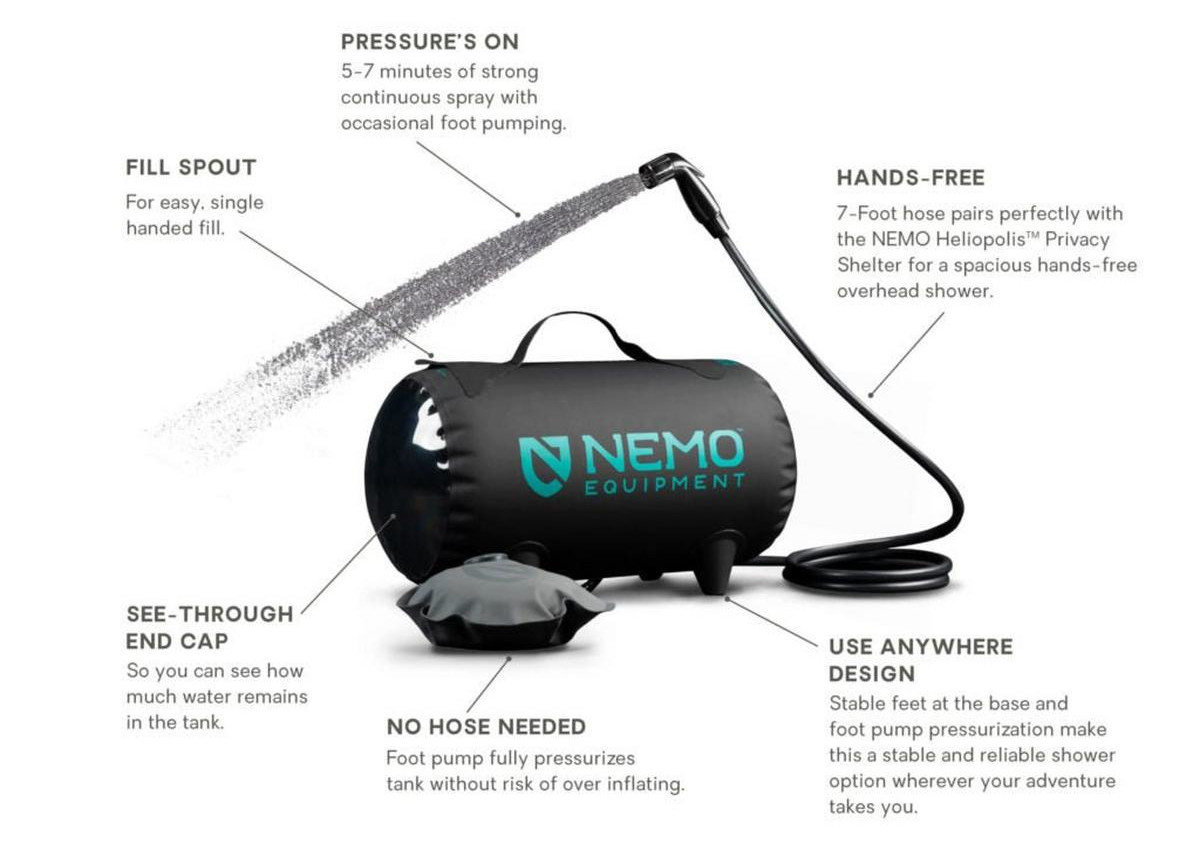
One way to ensure that you always have a convenient source of water close at hand you come of the trail is with the Helio Pressure Shower from Nemo Equipment. This clever portable shower is ready to provide all the water pressure you need to rinse of your boots, producing between 5 and 7 minutes of strong continuous spray thanks to the handy foot pump. It will even allow you to give the dog a quick rinse too!
If you find your boots are only lightly soiled when you get home, you can usually give them a quick wipe with a damp cloth and set them out to dry away from heat sources.
Cleaning Process:
1) Prepare your shoes/boots for cleaning
The laces and insoles of your boots can absorb a lot of moisture, so before you begin the cleaning process it makes sense to remove them. Removing the laces can also help you clean the tongue more effectively.
2) Brush off any dirt
Take your boots outdoors and knock off any larger chunks of dirt. Then, use a stiff bristled brush to start removing the more stubborn layers of grime; make sure you really get into any cracks, especially the eyelets. We recommend this Footwear Brush from Grangers, whose tough bristles will effectively remove any dirt without damaging the upper.
3) Stuff your boots with paper towel or tissue
Bunch up some kitchen roll or grab a small hand towel and stuff it inside your boots, making sure you get it right down into the toe box. This should soak up any excess water that might find its way into your boots during cleaning and shorten the drying process when you’re done.
4) Rinse your boots with water and apply cleaning treatment if required
Brush your boots under warm running water in order to remove any stubborn layers of grime. Remember, you only need to use a specialist cleaning product if nothing else works and please steer clear of soap as it can harmful and damage the waterproofing of your boots.
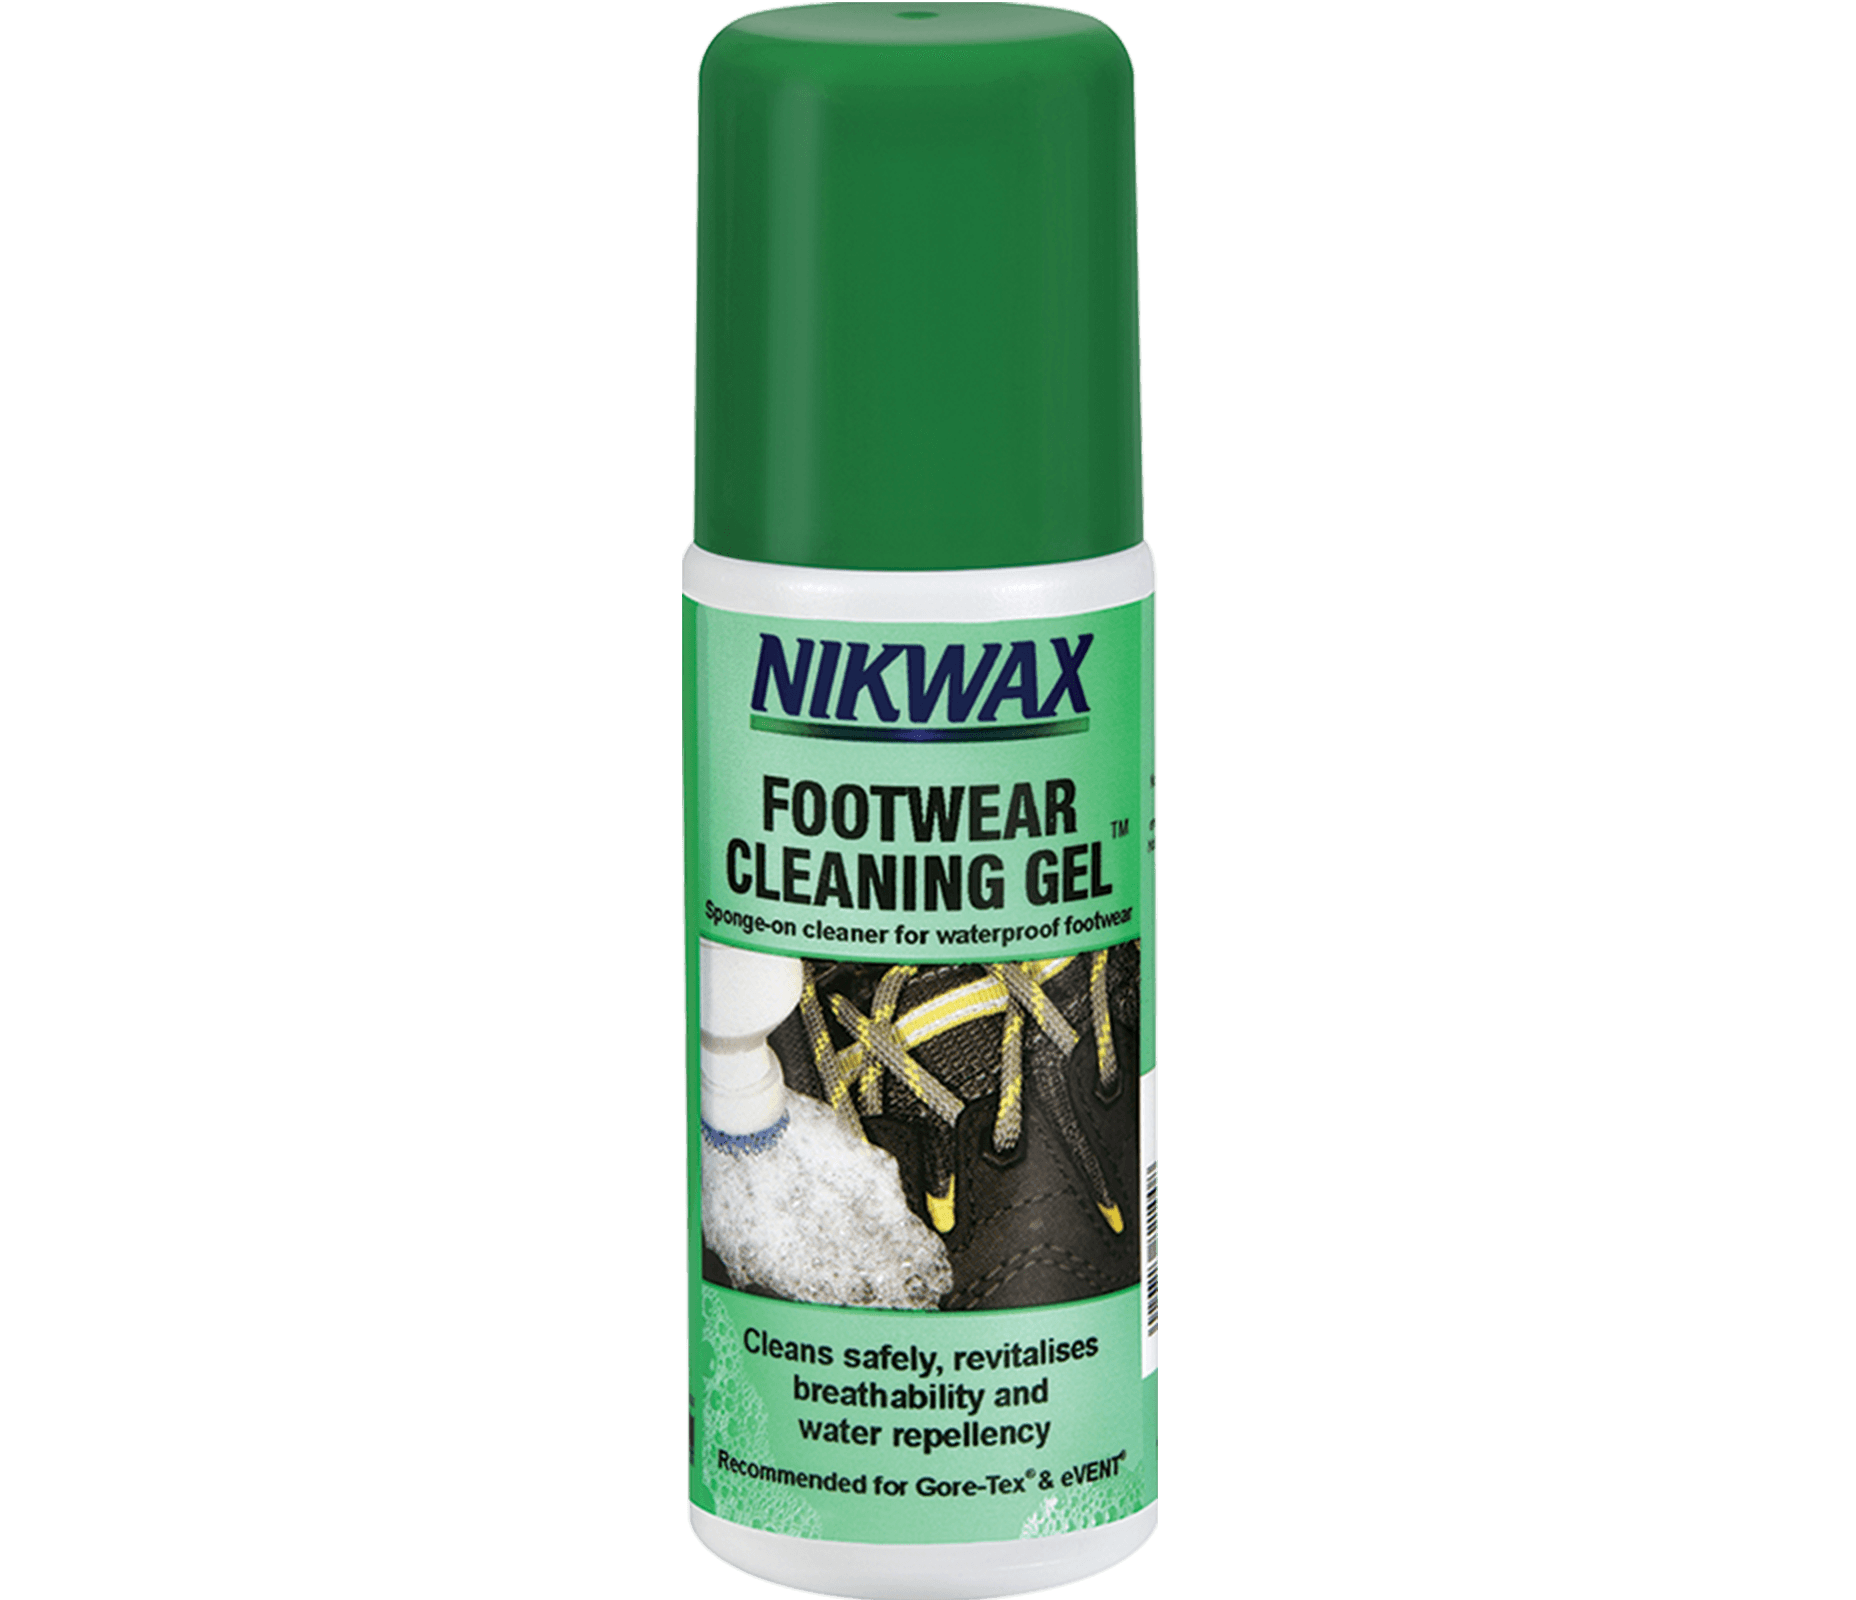
We recommend the Footwear Cleaning Gel from Nikwax, which is a Speciality cleaner designed to revitalise water repellence and breathability of all waterproof footwear (E.g. Gore-Tex®, Sympatex® eVent®). Follow the instructions on the bottle for best results.
5) Synthetic / Nubuck leather boots ONLY: Apply conditioner or waterproofing treatment if required
If you own synthetic or nubuck leather footwear and wish to apply a waterproofing treatment, then this is the time to do it. Any waterproofing treatment is much more effective when applied to wet boots as this allows the product to seep in and settle. Please take the time to ensure that water has fully penetrated the material before you move onto this step and if you find your boot aren’t quite moist enough, a top tip is to wrap them in a very wet towel and let them sit for a couple of hours.
6) Leave to dry
You can leave the paper towels inside your boots while they dry or alternatively you could stuff them with newspaper, this comes with the added bonus of helping them retain their shape. Feel free to give your boots a gentle dry with a towel or clean rag to remove excess moisture but leaving them to dry naturally at room temperature is the best option. Remember to make sure they are away from heat sources like a radiator or direct sunlight as you will risk cracking and splitting the material.
7) Full Grain Leather Boots ONLY: Apply wax if required
If your boots are made of full-grain leather then you may want to apply a cream or wax to enhance the waterproof properties of the material. Once you have applied your product of choice according the manufacturer’s instructions you can leave the boots to dry naturally for at least 60 minutes. Make sure you resist and temptation to use a heat source as this can lead to cracking. Finally, buff the wax with a dry cloth of the perfect finish.
8) Check for signs of wear
Make a habit of checking the sole of your walking boots for wear and if you notice you are losing grip you may want to consider replacing the sole. If the upper of the boot is damaged, then it is likely it will not be as watertight as it once was and it might be time to think about a replacement.
4) Which product should I use to reproof my walking boots?
“Synthetic or Leather?” - This is the first question you need to ask when thinking about reproofing your footwear of choice. There are tons of different products out there for waterproofing hiking boots, each of which has been specially designed with a particular material in mind. Therefore, when you are deciding on a waterproofing product to invest in, this is a vital piece of information.
If you decide to use a specialist cleaning product, please read the product description carefully before you make a purchase and make sure it is suited to your footwear of choice. The filters on the Tiso footwear Cleaning and Proofing page allow you to filter results for the kind of material your boots are made of, making it super easy to find an appropriate proofer.
Full Grain Leather:
Smooth and shiny, full Grain Leather is a naturally water-repellent material, but you can still boost its water repellent properties with a little bit of artificial help. There are a wide range of dubbing waxes available that have been formulated to restore your boots leather to the optimum level of waterproofing. Many boot brands manufacture their own proofing wax and recommend it specifically for use with the footwear they produce. Therefore, this is something you might want to consider when deciding on a product to use.
Nubuck / Suede Leather:
Unlike their full-grain counterpart, nubuck and suede leathers have a brushed effect from being buffed down. The treatment they undergo results in a thinner, less waterproof leather and consequently, most nubuck / suede walking boots also feature a breathable waterproof membrane such as Gore-tex.
There are plenty of proofing products on the market that have been specially designed for use on Nubuck or Suede leather footwear. We recommend the Nubuck & Suede Proofer Spray from Nikwax. This high-performance waterproofing spray is non-flammable, PFC-free and ensures that the texture and breathability of your footwear is maintained. Quick and easy to use, it is designed to be sprayed or sponged onto wet boots and provides a highly durable water repellence which develops when air dryed.
Synthetic / Mixed Materails:
Synthetic boots are crafted from man-made fabrics that can vary greatly from brand to brand. They are not naturally waterproof and require a waterproof membrane (or similar) and DWR coating to make sure your feet stay protected against the elements.
Today there are a wide range boots on the market that are made of a combination of both leather and synthetic fabrics.The Nikwax Fabric and Leather Proofer can be used on boots crafted from any kind of material and works by coating the individual fibers of the fabric and leather with a DWR treatment, ideal for maintaining breathability.
5) How do I deal with smelly walking boots?
Have you found that your walking boots are still producing an unpleasant odour even after you’ve cleaned them? This isn’t surprising given that they tend to create the perfect environment for odor-causing molds and bacteria, especially if they aren’t aired out properly after use. With this in mind, we’ve put together a series of top tips below to help you ward off any unwanted stench.
- 1) Remove the inner sole and wash it thoroughly - air dry until completely dry before replacing.
- 2) Sprinkle some baking soda (bicarbonate of soda) inside the boots and let it sit overnight. This should remove and bad smells with relative ease.
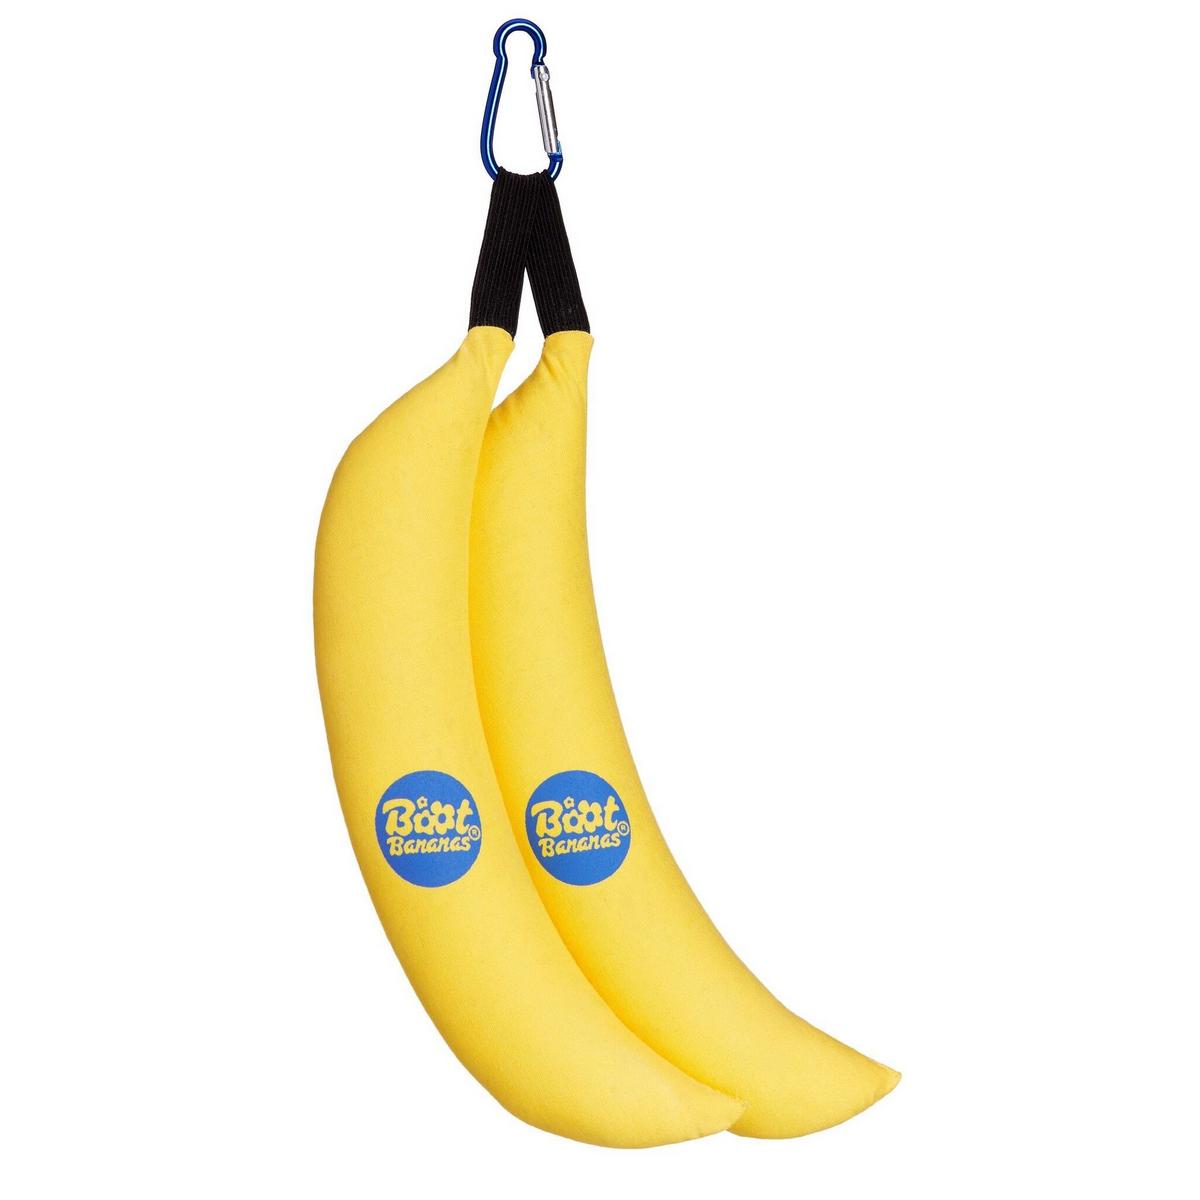
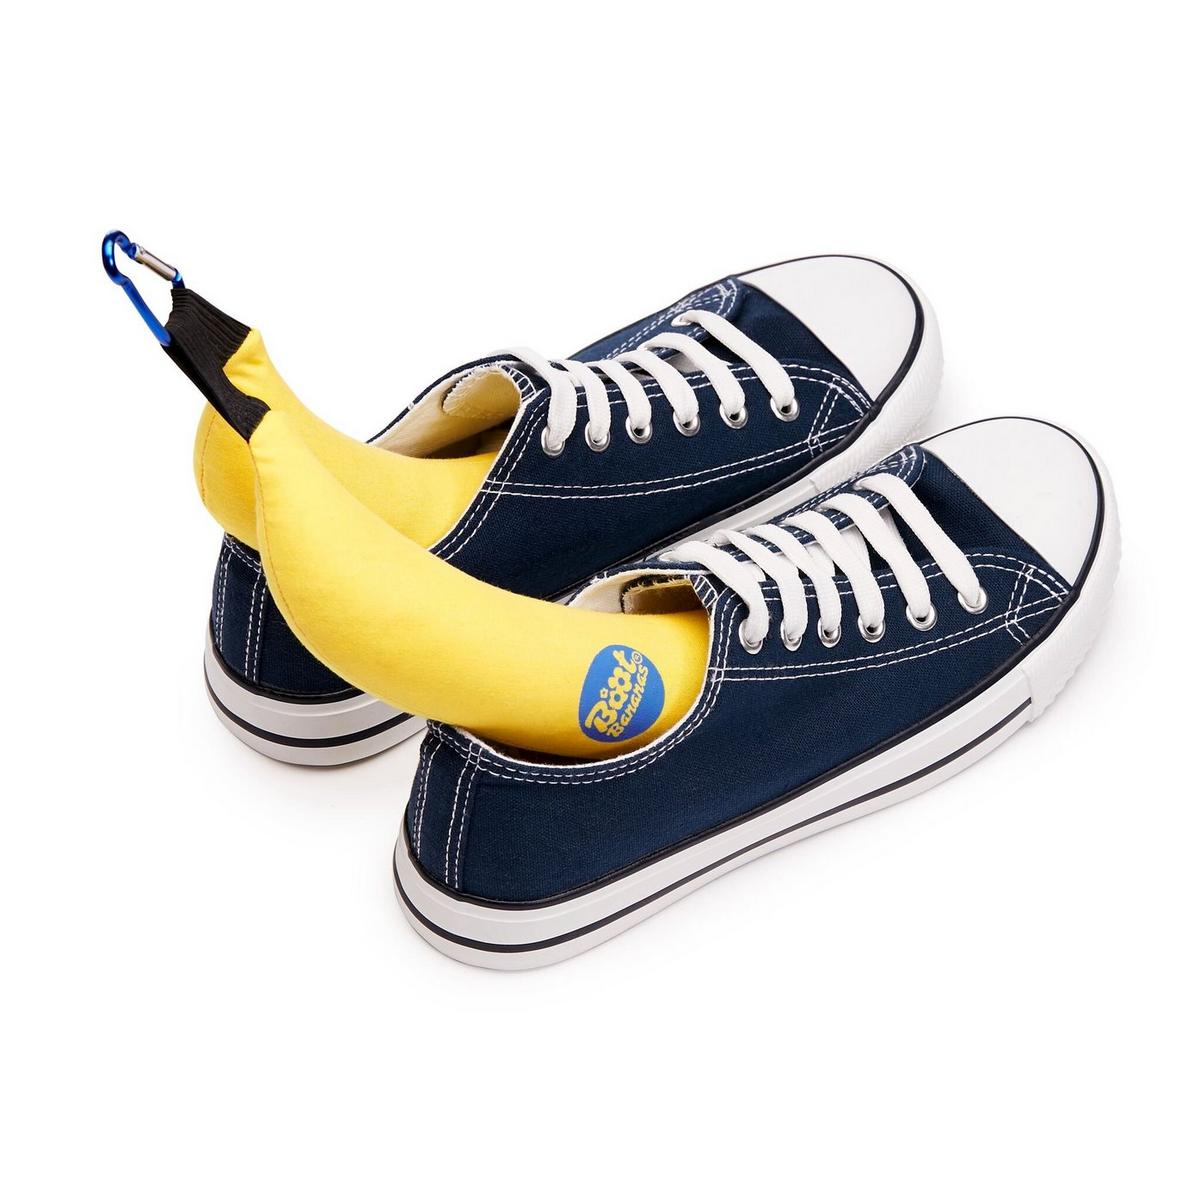
- 3) Try out the Boot Bananas from Troll. These fragrant and moisture-absorbing shoe deodorisers, keep your footwear dry and fresh using a unique blend of naturally absorbent and odour neutralising minerals and essential oils.
- 4) Double check the sole of the boots. It is possible that some dirt has been left in the tread, so you may need to do a more thorough clean.
6) How should I store my walking boots?
Buying a quality pair of walking boots or shoes can be a big investment and with this in mind, you will undoubtedly want to make sure your new boots last for as long as possible. Where you store your boots can have a significant impact on their longevity. To make sure they remain in excellent condition, keep them in a well-ventilated, dry space away from direct heat and sunlight, as a humid or hot environment can negatively affect the materials and cause cracking etc.
Shop Footwear Cleaning & Proofing Here:
Shop Cleaning & Proofing