
Tested By Tiso | Vango Force Ten Project Hydrogen Tent
Best suited for: Lightweight solo adventures
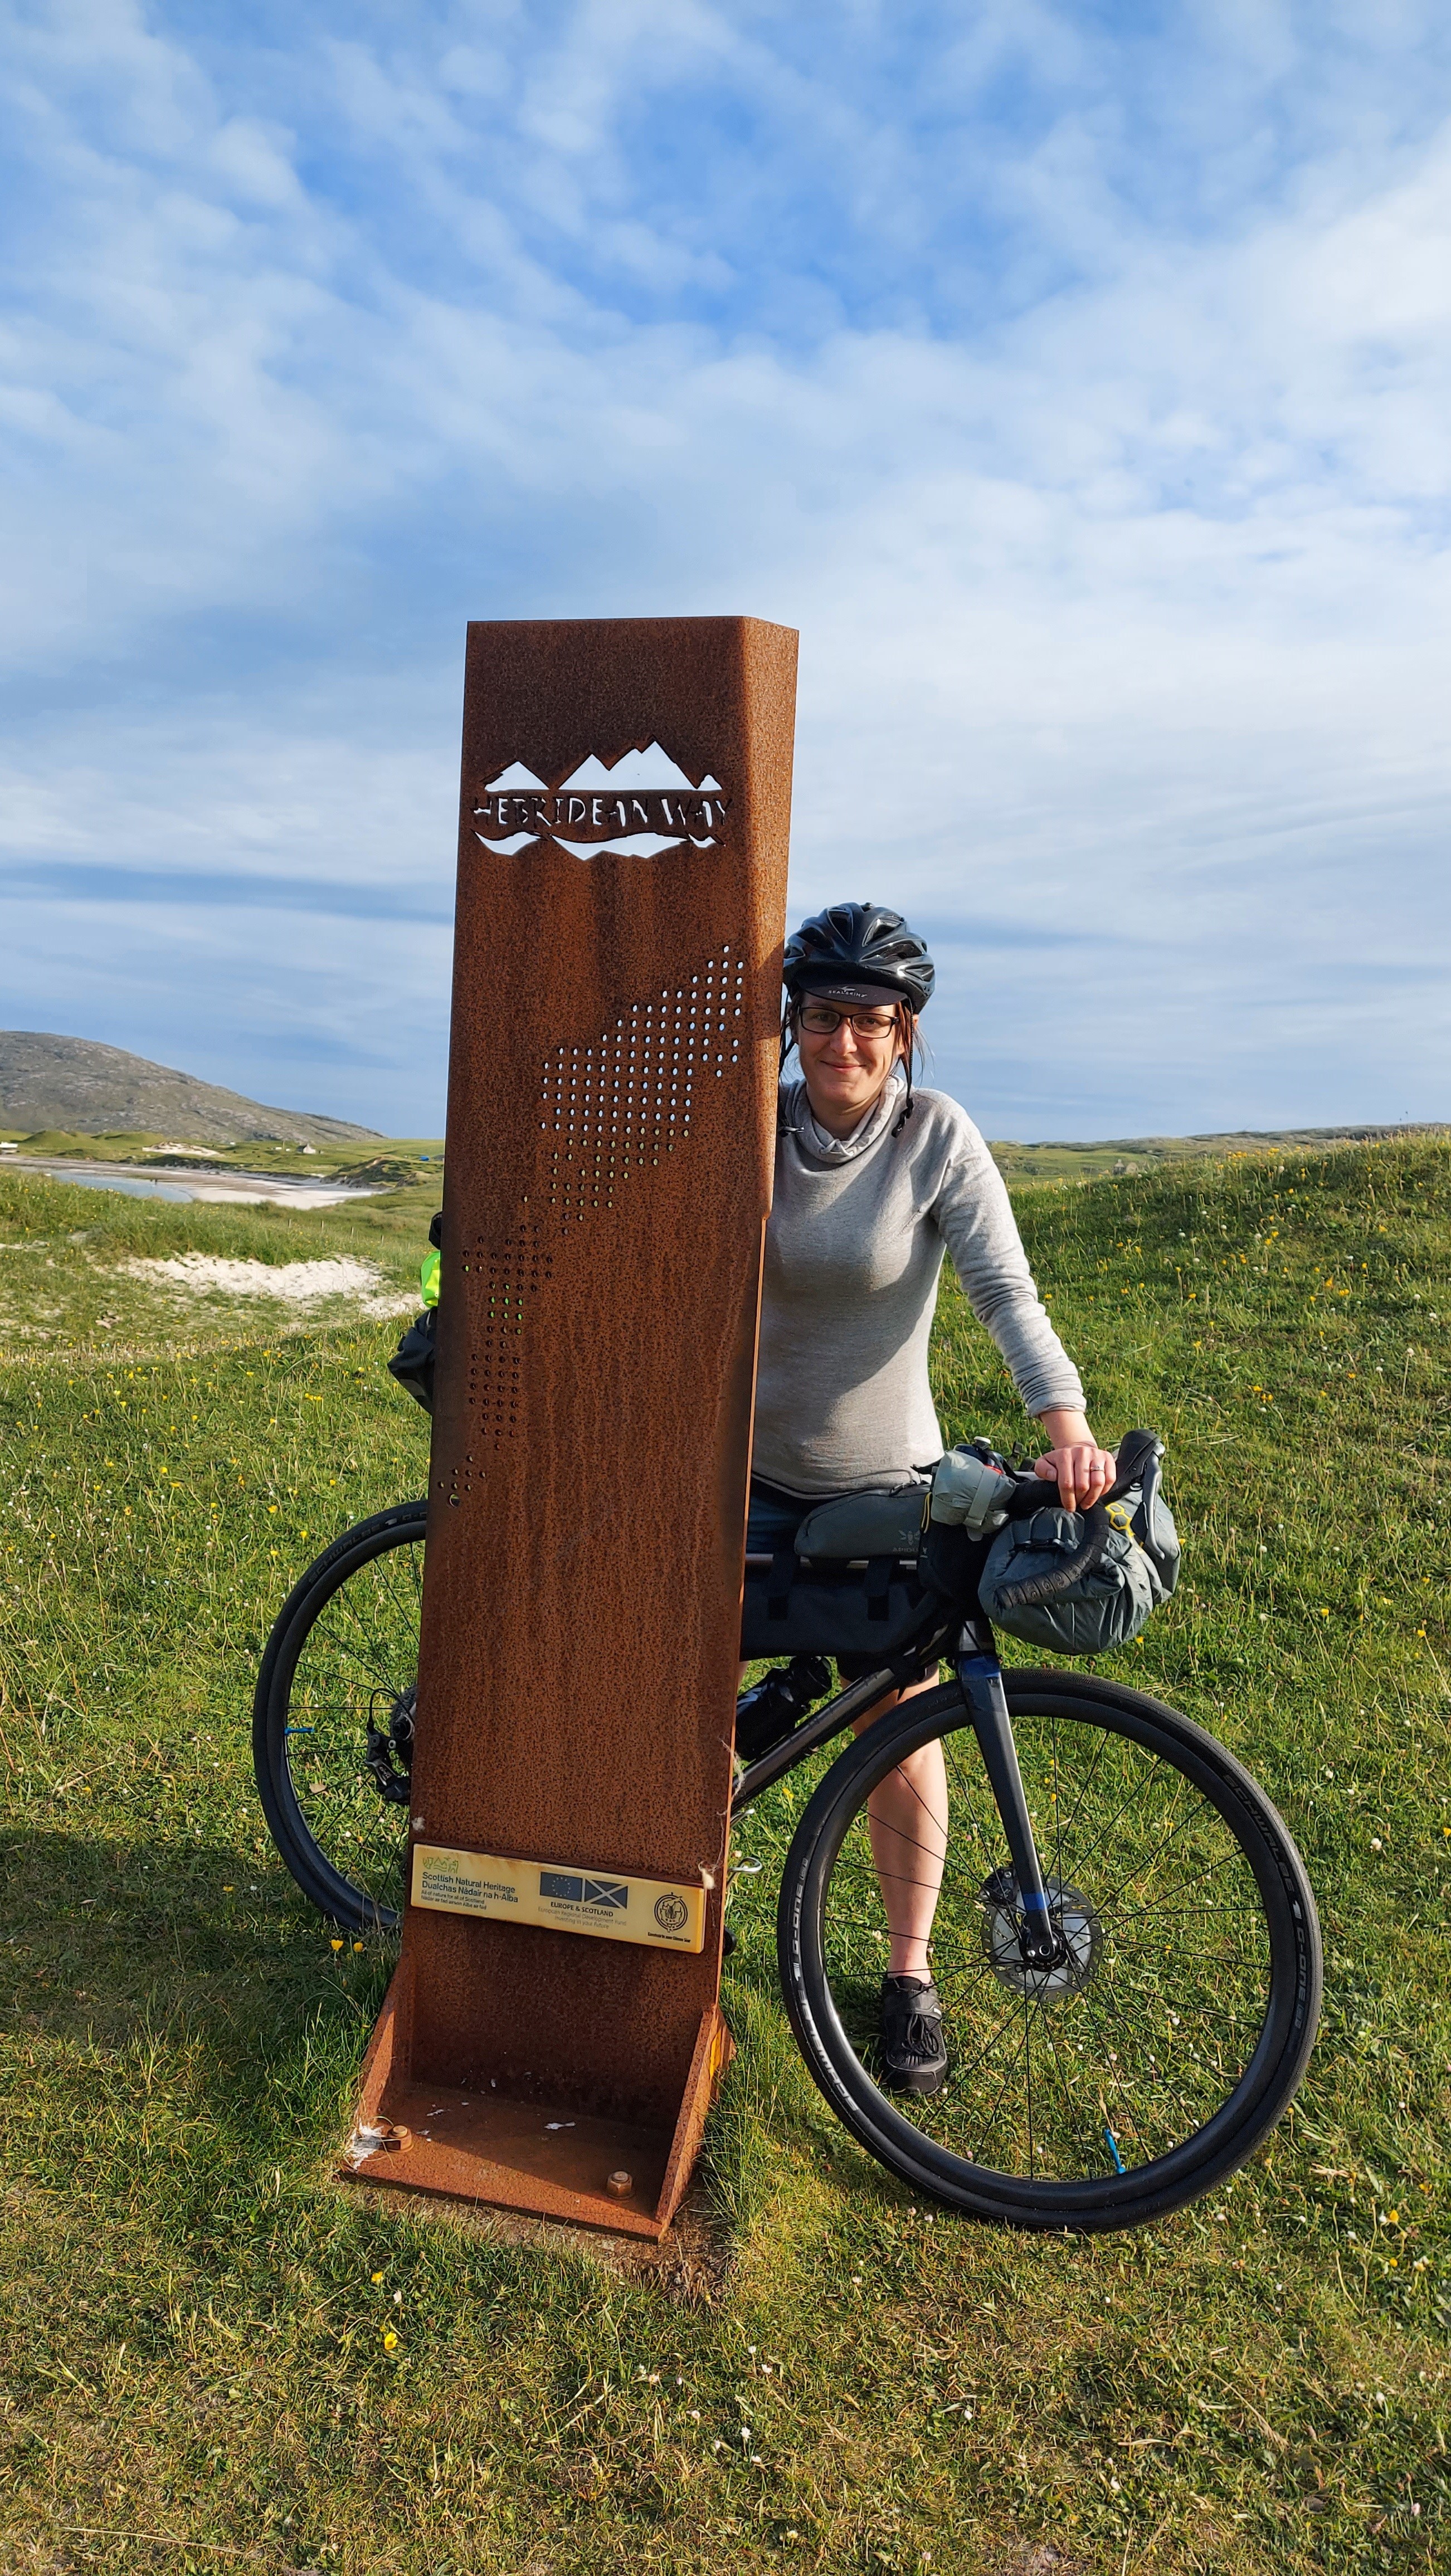
Location: Outer Hebrides, Scotland
Weather: High winds but dry
Whether to take a tent or a bivvy bag is the perpetual question bike riders will consider when heading out on a bikepacking adventure. And the answer isn’t a straightforward one; it’ll completely depend on the nature of the riding you’ll be doing. If you’re racing where you’ll keep time off the bike to a minimum, then a bivvy is probably your way to go. But if there’s any element of relaxation along the way, then a tent can give you the space to shelter during the evening and typically better sleep quality (though that is subjective).
I’m one for riding both of these styles but when I decided to take some annual leave and ride the Hebridean Way, I planned to actually have a holiday. I didn’t plan on exhausting myself to the point of only being able to crawl under some fabric for some sleep, so a bivvy just wasn’t going to cut it. There was also no way I was believing the Smidge Report of there being no midges in June so a tent felt like a safe bet.
While Vango is known for its affordable, quality family tents, Force Ten is the elite range of products in the Vango Family. Force Ten tents have their roots in expedition tents in the ‘60s, their name deriving from the ability to withstand a force ten gale. Considering I was on my way to the Outer Hebrides where the locals say it is “where tents come to die”, this seemed like a pretty solid way to start on my first bikepacking adventure in over a year.
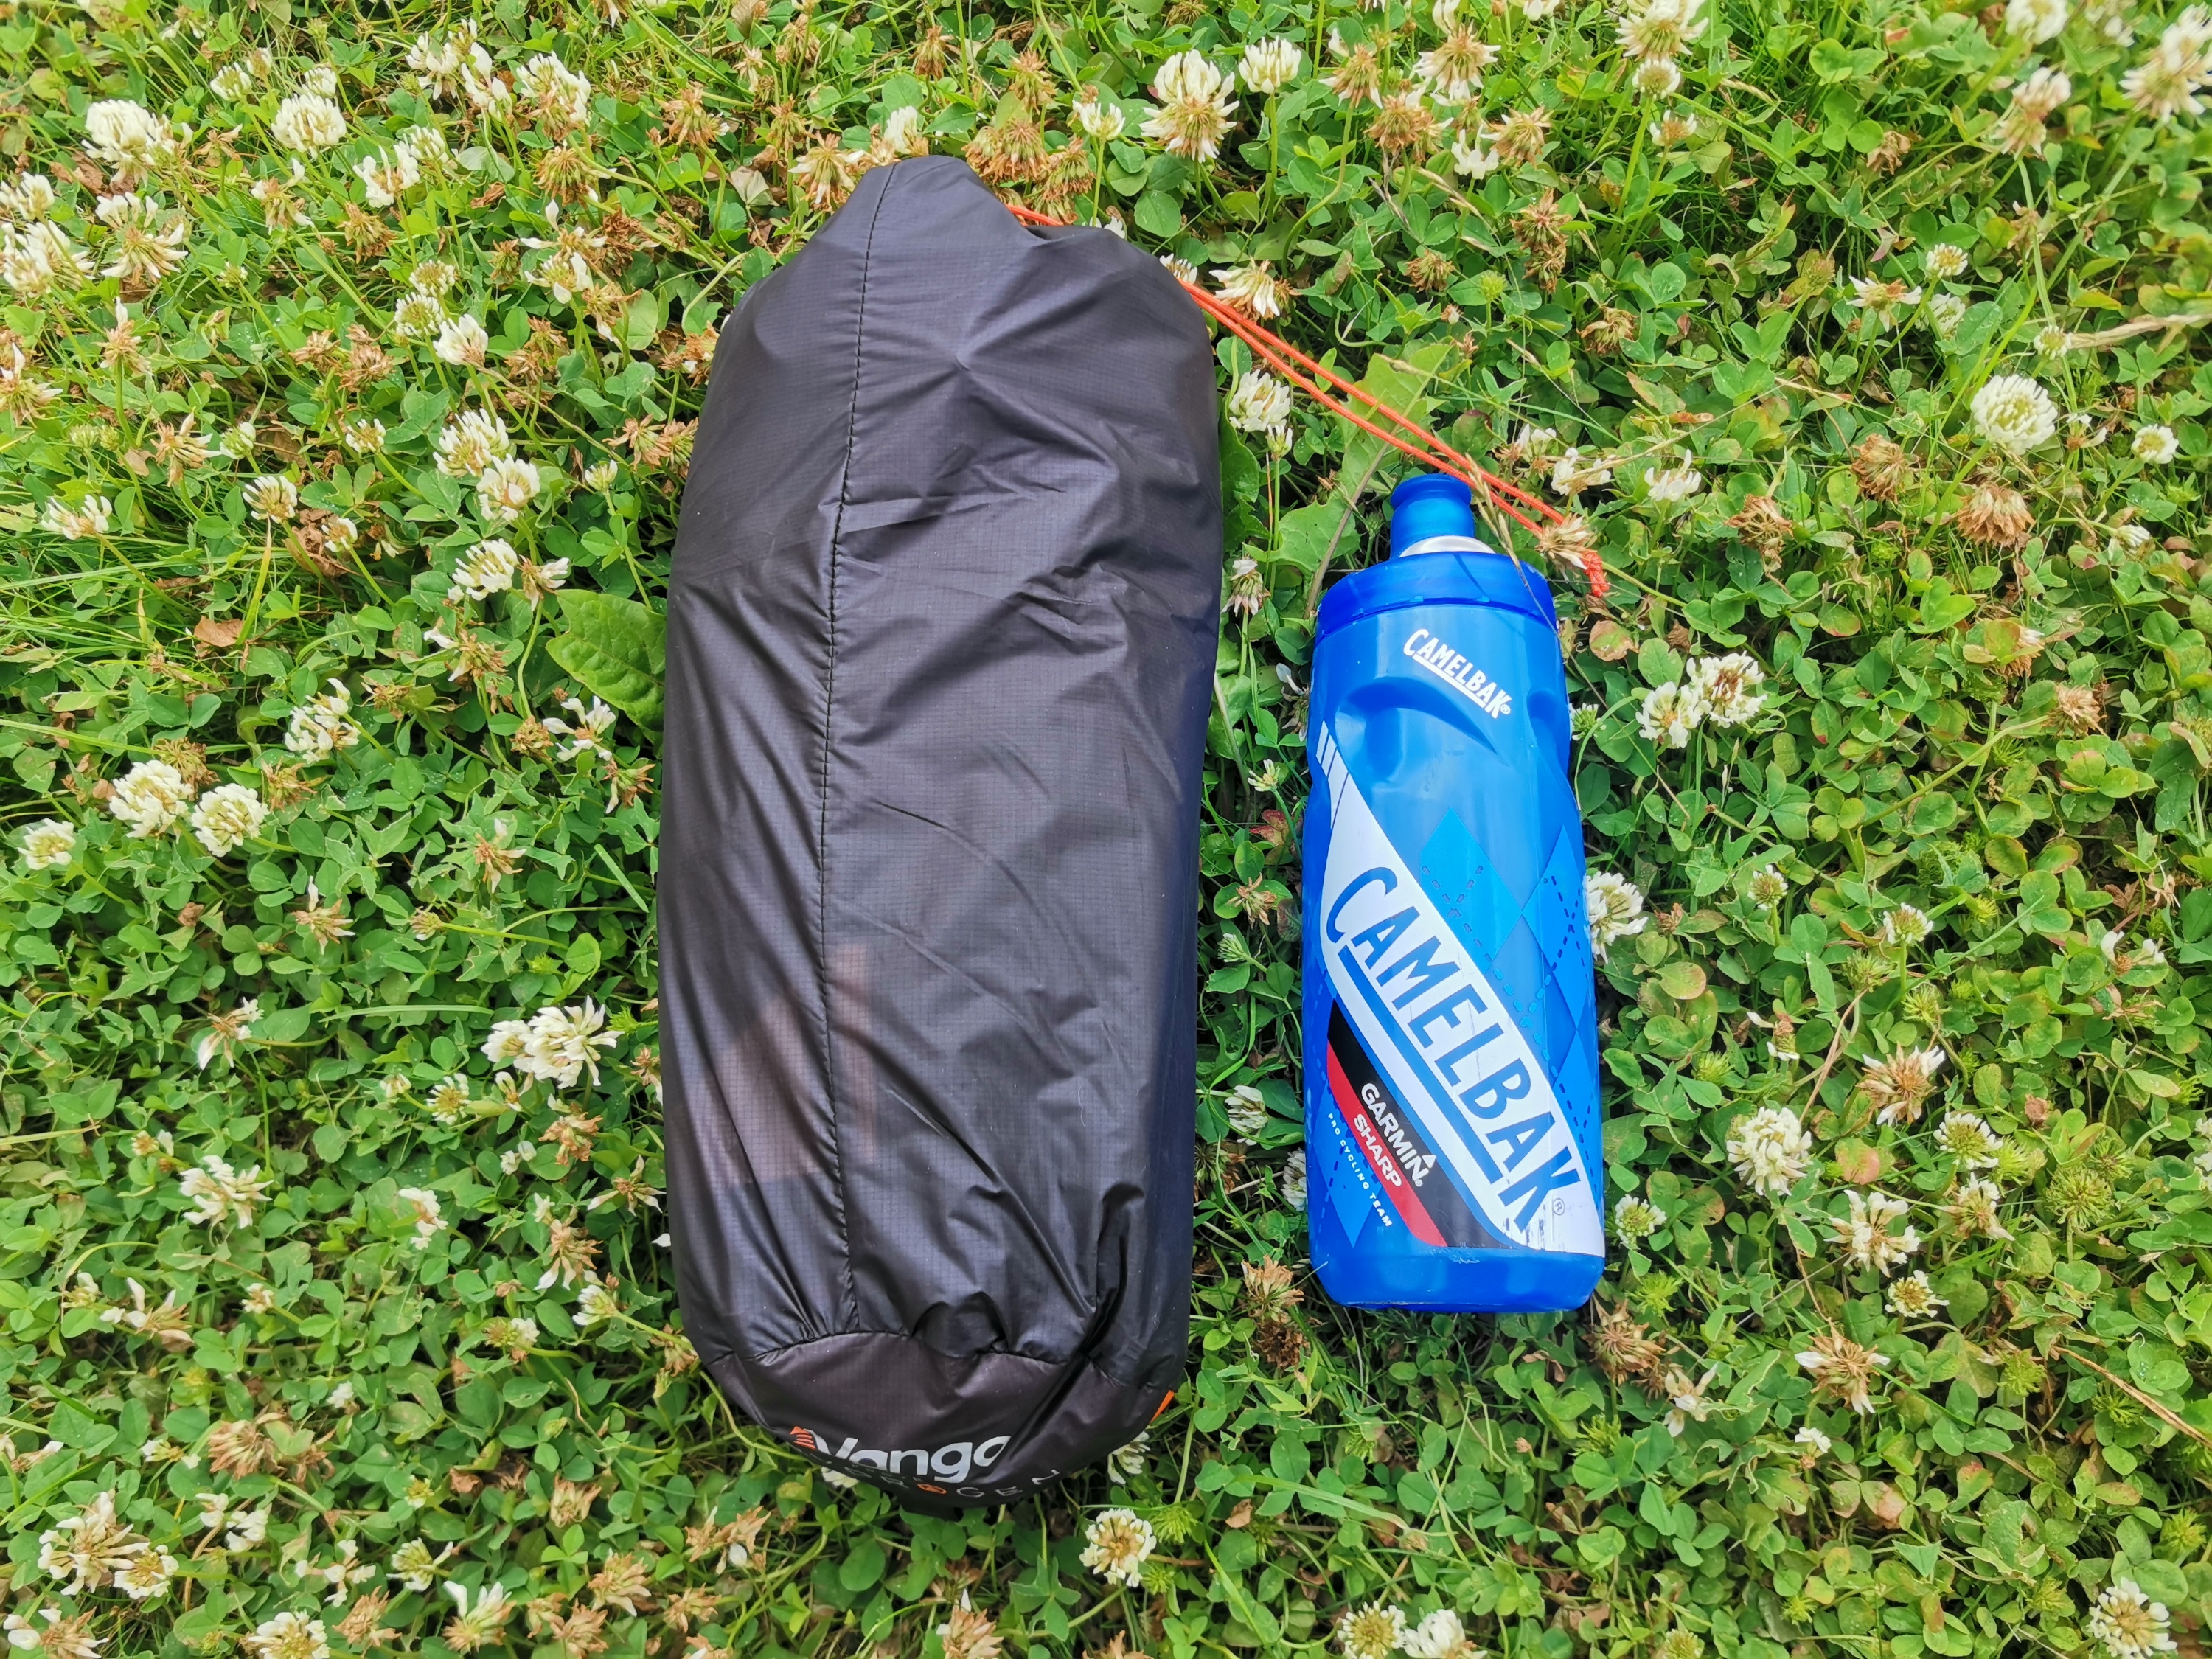
On paper, the Hydrogen ticked all my boxes for my lightweight set up. It claimed to pack down to 1 litre and weigh only 700g but was still a double skinned, waterproof tent with a usable porch. I aim to carry my entire sleeping system (shelter, mat and bag) in my front roll pack which has to sit between my drop handlebars so size really did matter here. For pitching advice I could only find a graphical download on Vango's website, so I gave it a couple of tries in my garden before setting off to be sure of the technique.

Pitching
Using a Schrader Valve on the tent was an interesting choice. I imagine Vango chose Schrader over Presta as it’s more robust (Presta tops always looks like they’re susceptible to snapping off). But for bikepackers, most of whom might run a tubeless set up, their bike valve will probably be Presta so they’d need to carry a mini pump that has both nozzles or take two pumps.
The first obstacle I came across was that my dual valve bike pump didn’t have a long enough nozzle to compress the valve to pump up the beam. The Schrader Valve on the tent is quite long at 12mm, but luckily I had a dedicated Schrader pump that worked well. This did mean I had to take two pumps with me which wasn’t ideal but was my only option. It would be totally workable with a bit of shopping around for the right pump to manage both your Presta inner tubes and the Schrader tent valve (now you know the length of the valve) but I ran out of time and would be yet another pump to add to the plethora we have hanging around in our garage. It’s worth noting that the pumpsack that comes with the tent is just the bag itself. I tried inflating the air beam with this and it would have taken me about 15 minutes and even Vango claims that you’ll have to use a bike pump to get to a firm 6 PSI so it’s a bit of a gimmick.

The tent states to not inflate the air beam above 8 PSI with an ideal pressure of 6, which is too low a pressure to be accurately measured on my track pump. This is easily worked around by using a digital gauge for your mini pump but would be another purchase if you didn’t have it already. However, if you’re running a tubeless tyre set up and there’s the possibility of having to do a repair on the road, it’s probably not a bad thing to have with you anyway. Once you get used to what 6-8 PSI feels like when you give the air beam a cheeky squeeze, you may not have to worry about the specifics again.
Moving on, the Hydrogen comes with extremely lightweight titanium pegs, plus three more chunky ones for the main peg points. Sadly, my garden is far too rocky for testing out these titanium pegs, but on good ground I’ve no doubt that they probably would perform very well. As I was travelling solo in a quiet part of the world, I wasn’t willing to risk them breaking or not being enough so swapped them out for my own reliable pegs. Pitching the tent was actually quite simple – I started pegging out opposite corners of the inner and loosely pegging the outer. Now, the two ends of the air beam which meet the floor have non-adjustable string between the beam and the inner to keep the air beam in the correct shape. One side of mine had unhooked so I spent a few minutes pondering on the ideal curve to keep the tent outer taught enough before realising that this is all defined in the design… it had just come unhooked.
Once the beam is inflated, I adjusted the outer’s pegs, added the one small pole at the foot end and pegged the guy lines in that order. The more times I pitched the tent, the quicker and more accurate I got the set up and while the order of pitching doesn’t match Vango’s advice, it worked best for me. Be prepared for the first pitch to take an inordinate amount of time when you’ll wonder whether you’ll have the energy to do this after a day of riding your bike or walking up hills, I promise you it does get easier with practice and is worth it.
Now, remember I was travelling in the Outer Hebrides – a stunningly wild place with extreme wind to boot. Or at least, it was a solid northerly wind whilst I was cycling north there. Of course. This did mean I was able to test the tent in a strong wind as it was pitched in a 30mph breeze for 4 hours before it quietened down overnight. Over the course of that evening, the tent held up perfectly even though I pitched it the opposite way to the wind that physics suggests you should. For optimum air flow, you should pitch the lower end of the tent into the wind so the breeze runs up and over the tent. I pitched it with the higher end into the wind (1) for a good test and (2) because I wanted the door opening to be towards the picnic bench so I could see my bike and the ground wasn’t as flat on the other side. Nuanced logistics, y’know.

The one and only pole is at the foot of the tent and does a great job at creating tension across the board. Playing around with peg location I realised that most issues were solved by adjusting the angle of the pole and/or tightening the guy line at the foot.

Living Quarters
Once pitched and unpacked, the tent is roomy enough for one plus some kit within the inner. I’m 5’4” and my sleeping mat is a Thermarest NeoAir UberLite (which is 6.4cm thick) and sitting upright on this my head would touch the inner at its apex. So it’s not a tall tent but you can get changed inside it unlike in a bivvy. This low head height is the pay off for less fabric and a lighter weight tent – it worked well for me but if you’re particularly tall you’d need to really consider if this is the level of comfort you’re after. Saying this, the space between the inner and the outer of the tent is significant and at no point was there contact between the two once I'd optimised the position of the foot pole and guy line. That space plus the permanently open vent above the door means I have every confidence that you’d not suffer from condensation though a longer term test in different conditions would really show this.

Vango claims that the porch is usable and let’s face it - that’s quite a subjective word. Travelling by bike, I could keep my helmet, stove, coffee mug and 17L seat pack in the porch and still get in and out easily. If you were backpacking, I would wonder how useful this porch would be beyond a space for sheltered cooking – or indeed where you’d keep your backpack at all. However, if you’re considering a tent this lightweight and packable, chances are your bag isn’t very big so you could turn it sideways inside the porch for a snug fit - just where you can see my helmet and Jetboil in the image above.
The inner of the tent is asymmetric with more space on the non-door side. Here, they’ve put two pockets for your stuff though it’s only really useful for very lightweight things otherwise it pulls the fabric and removes that extra space created by the asymmetry. If the pockets had been on the vertical inner wall with the door, this may have fixed this issue.
Besides that minor criticism, I managed to fit a good amount of stuff inside with me and slept impeccably well. Considering my quandary over tent vs bivvy, the Hydrogen was a very pleasant addition to my wee holiday.
Striking
Packing away in the morning, the test really is working out how to remove all the air from the beam to be able to pack the tent into its claimed 1 litre capacity. Again, testing this at home was 100% worth it as there isn’t any advice online about striking the Hydrogen. So here’s a method I developed:
The two ends of the beam that meet the floor are velcroed into the tent fabric. I undid the Velcro, letting the beam run flat to remove the air. I then folded the tent horizontally so the fabric lay neatly on top of the air beam. Gathering up your tent pegs and the one small pole gives you the traction to roll up the tent up the length of the beam, whilst removing the remainder of the air, and ta da! One rolled air beam tent. I’ve no idea if this is how Vango advise striking the tent, but it worked extremely well for me. I went from sleeping to cycling in 35 minutes.
Final Thoughts
The Vango F10 Project Hydrogen fits a very specific type of user. A solo backpacker/bikepacker with minimal amount of stuff who wants to have actual comfort and a place to relax after a hard day would do really well with this tent. There’s space to keep your clothes inside, just about enough space to get changed, space to cook and a very low pack size and weight. If you have space in your pack for a footprint, all the better so you can keep this tent going for adventure after adventure - the very nature of a lightweight piece of kit does detract from its robustness so I purchased my own footprint to take with me; it doesn't come with one. I’ll definitely be using this tent again when I’m not in a hurry. It’s an exciting prospect, especially after lockdown, to dream of the views you can have from the door of the Hydrogen.
Pros & Cons
Pros
- Packable and lightweight – true to Vango’s word
- Great colour for stealth camping
- Good size for a one person tent, it didn't feel claustrophobic and I could sit up to get changed
- Great clearance between inner and outer for great ventilation
- Stood up very well in high winds - this tent did not go to the Outer Hebrides to die
- Quick to strike
Cons
- Took some practice with pitching and striking
- You’ll need to be travelling light to be able to store your gear in the porch
- You must be sure of your bike pump nozzle length and it can be a guess at the pressure
- Pumpsack is a bit pointless since you need to finish the pressure with a pump anyway
- Internal pocket storage flawed by lightweight fabric but you may not need it
Thanks to Helen for testing our kit in its natural habitat. Helen has been working for Tiso since 2020 and has cycled through 33 countries (and counting) across the world.
Camping At Tiso
Tiso are proud to bring you the best range of outdoor gear in Scotland. Whether you want to test yourself in the hills, keep warm on the dog walk, or hike throughout winter, we've got you covered. Pop into your local Tiso store to see the full range. See More Camping
Free Delivery Over £50*
Spend £50 or more and get FREE Delivery
*Excludes bikes
60 Day Returns
Enjoy peace of mind with our extended 60-day returns policy (Sale items excluded).
Shop Now, Pay Later
Spread the costs with finance options such as Klarna, PayPal & v12